3 - Setting up MCP
**This is an old revision of the document!**
Table of Contents
Tutorial Part 3 - Setting up MCP
The Minecraft Coder Pack (MCP) is a toolset used for decompiling and de-obfuscating the Minecraft binary, and recompiling your modifications. Unfortunately the default toolchain does not lend itself to multi-project setups very easily, so we will need to create build scripts in order to manage and compile our mod projects and this will be covered later in the tutorial.
For now, download MCP and extract it to a folder inside your “Modding” folder you created in Part 1. For example if you are using MCP805, the root folder should be C:\Modding\mcp805
You can download the MCP zip from http://mcp.ocean-labs.de/download.php
Once you have downloaded and extracted the zip, you will need to update the MCPBot mappings:
- Open the conf folder and locate the file mcp.cfg
- Open mcp.cfg, if you are asked to select a program to use, choose Notepad or just choose your favourite text editor.
- Locate the line which starts with UpdateUrl, it should look something like this:
UpdateUrl = http://mcp.ocean-labs.de/files/mcprolling_{version}/
- Change the mcp.ocean-labs.de to dl.liteloader.com as shown:
UpdateUrl = http://dl.liteloader.com/files/mcprolling_{version}/
- Save the file and close it.
Once you've made this change, run updatemcp.bat, MCP should ask you to confirm to update several files, type Yes and wait for the update to complete.
Once the update completes successfully, run the decompile.bat to decompile the minecraft client.
Eclipse Workspace
One thing you may notice when installing MCP is that there is an “eclipse” folder inside the MCP package. We will be using this as our Eclipse workspace for working with LiteLoader so make a note of the path to this folder. If you are following the recommended layout the path will be C:\Modding\mcpXXX\eclipse (where XXX is the MCP version).
Setting up Eclipse with MCP
Open up Eclipse, but instead of selecting the default workspace, enter the path to your MCP “eclipse” folder:
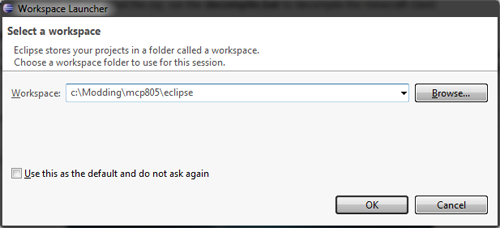
Click “OK” and Eclipse will load the workspace. If the welcome screen is displayed, close it and you should see the following new workspace layout:
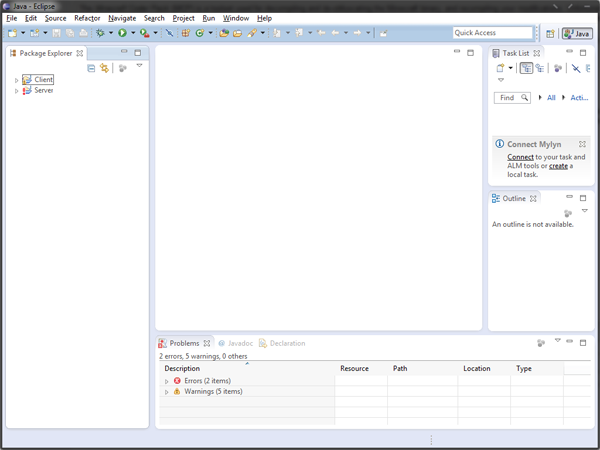
For now, close the “Server” project by right-clicking it and choosing “Close Project”.
Navigation
- Previous Installing SVN Support


